Materials needed
*Cardboard box, You can use any size that you want, This one was from a cd player.
* masking tape
*acrylic paint
*foam brush
*some ribbon and hot glue gun
*Stickers of people or animals
*different colored cardstock
*popsicle sticks
*clear spray paint
Cut the bottom off box, and cut a square in front.

Cut one of the flaps into a tower crown shape! Emma helped me paint the box and top crown any colors you wish! Don't forget to paint the inside of the box too, so that when you see through the inside, it doesn't look ugly!

Emma placed stickers on the colored cardstock! And I cut out around the stickers!

After you cut around the stickers on the paper, hot glue gun them to the popsicle sticks

Hot glue gun the top crown part to the box. and deocorate with ribbon and stickers. I put a ribbon where the top crown and box meet to cover up the hot glue. And ribbon along the bottome of the box for decor! The flowers and green swirls are painted on! After all is done, spray the clear paint all over box too avoid scratching off paint.


I still haven't got a picture Emma using it, in the day light, where you can see her enjoying it...but really soon!
 These were super easy! I had some wide mouth "Ball" jars, one tall and one short, and lids in my basement! So I went to Salvation Army and found two Candle stands and some chess peices. Glue the chess pieces on the jar lids with a really sturdy glue! I use, E-6000 industrial strength glue! (photo below) I spray painted the candle stands and lids black! Then glue (E-6000) the jars onto the candle stands! Put candy in jars that match the holiday! Now you have an awesome home decor, but Holiday decor also!


 I love these sugar eggs. My Grandma used to make them for all of her kids and grandkids when we were little. We each got our own on Easter. It was always something we looked forward to. Though this isn't a recipe that is edible (eating it would be a VERY bad idea).. I still wanted to add it to the site because this truly is a family favorite. It has ingredients so it qualifies as a recipe, right? You are going to love these eggs. Kids love decorating the inside. They are beautiful decorations to display for Easter and Fun to do!
  First of all, you need an egg mold. I found these at the store for $3. They are some of the best quality ones I have found and they aren't even intended to be egg molds!
  Whisk the egg white until it becomes kind of foamy. If you would like to color your egg, add food coloring to the egg white and mix well. If you do add coloring to your egg, remember that you will be adding a lot of sugar to the egg white, so it’s a good idea to dye the egg white a darker color than what you want your final product to be.In a large bowl, mix together the granulated and powdered sugars so they’re mixed well. Pour the egg white into the sugars and begin stirring. At first it will seem like it won't get wet enough, but keep stirring until it becomes like damp beach sand. Don't add extra water or liquid... that will make it too wet. Just keep stirring until it gets damp. You want the sugar to clump together if you squeeze it in your hand.
 You want the egg to be smooth, so press down on the sugar to prevent any small gaps or cracks from forming. If you have excess sugar and want to make more eggs, keep it in a bowl and place a damp paper towel directly over the sugar to prevent it from drying out.
 Place a stiff piece of cardboard directly on the top of the mold. Bracing one hand on the cardboard and the other underneath the mold, quickly flip it upside-down so that the egg halves are now resting on the cardboard.
  Quickly remove the mold—now you should have two perfect sugar egg halves.
 It is important to do this when the outside is hard, but the insides are still soft. Once the egg has fully set, it cannot be reshaped! Pick up the egg half, hold it in the palm of one hand and use a spoon to scrape out the moist sugar. Continue to scrape the interior of the egg until you have a sugar shell that is about 1/2-inch thick. You want it to be as thin as possible, while still being sturdy enough to hold together.Scrape out the interior of the other egg half. CAREFULLY use a serrated knife to slice off the tip of each egg, this will be the hole you look through to see the panorama so make it about the size you would like. Be careful not to apply too much pressure and cause the egg to collapse or crack. Continue to gently whittle/sand away to front of the egg until the two halves match.


 Run your finger around the seam where the eggs meet to remove any excess frosting. You want to do this right away so that it will not begin to harden into unsightly shapes. Allow the egg to sit for about 30 minutes, until the frosting has hardened enough to move the egg without damaging it.Time to put the finishing touches on your egg!


 & This is my green egg with the little chick!


 Print out this Easter Subway Art
 Bathroom Subway art with ribbon and flowers on frame! I just love these!
 For both of the above, I just googled "Family Rules Subway art" and "Bathroom Subway art" and I just found some that I liked! There are different ones for different preferences!


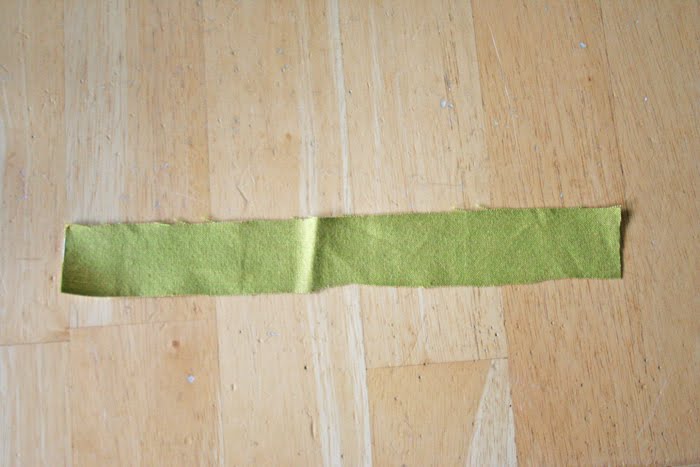
 when you get your flower as big as you want it (making sure you leave a little bit of a tail)

